Table of Contents
Enable microphone access #
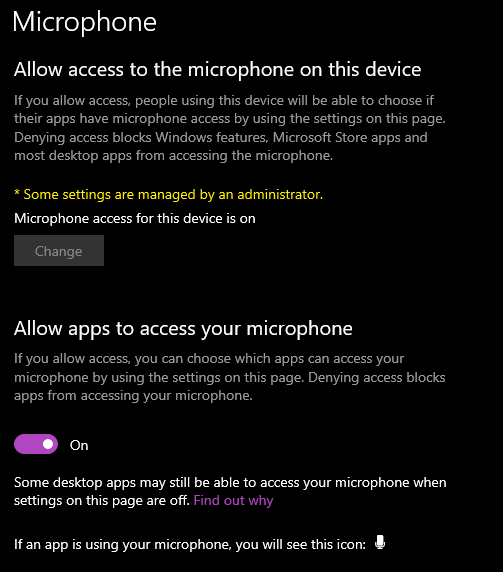
Your operating system, specifically Windows, will sometimes block Microsoft Teams from accessing your microphone. If you see this as the case, you need to manually grant Microsoft Teams permission straight from your PC’s settings.
- Open the search bar in your taskbar by clicking on the magnifying glass icon. You can also bring it up with the Windows + S keyboard shortcut. Type in “Settings” and click on the first search result.

- Select Privacy & Security then select Microphone.

- Toggle on Allow apps to access your microphone
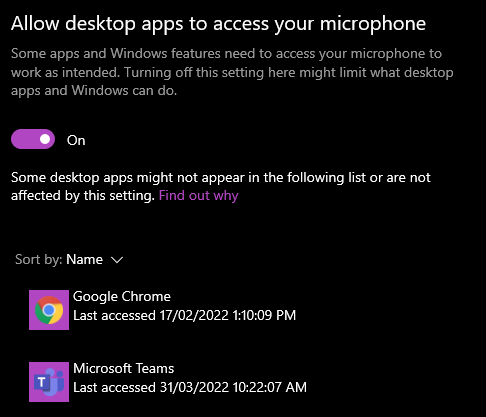
- Toggle on Allow desktop apps to access your microphone
- Go to your Microsoft Teams app
- Click the “3 dots” right beside your profile picture
- Click Settings

- Select Devices
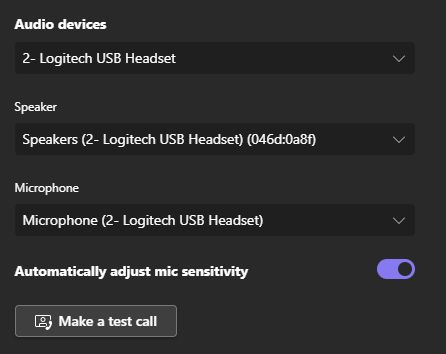
- On the Microphone section, select the correct device
- Click Make a test call to check if the microphone is working
Update the Microsoft Team app #
Having the latest version of Microsoft Teams is necessary to ensure the app is working splendidly. Software updates fix bugs from the previous version and patch security vulnerabilities. Microsoft Teams automatically updates whenever there’s a new version available, but sometimes you may need to check them manually.
- Go to your Microsoft Teams app
- Click the menu right beside your profile picture
- Click Check for updates

- The app will check for available updates and will install them automatically
- You should be getting this message after the update, “You’ve got the latest version.”
- Close and relaunch the Microsoft Teams app
- Make a test call with a college or go to Settings > Devices > Make a test call to check if the microphone is working smoothly


